I've also prepared two straps, (#13 on plans) that will be welded around the rear bushing legs, and two more (#14 on plans) to weld around tubes and between the two plates! I know.... will be more clear when i'll put everything together.
March 18, 2015
Landing gear bumper plates...and more!
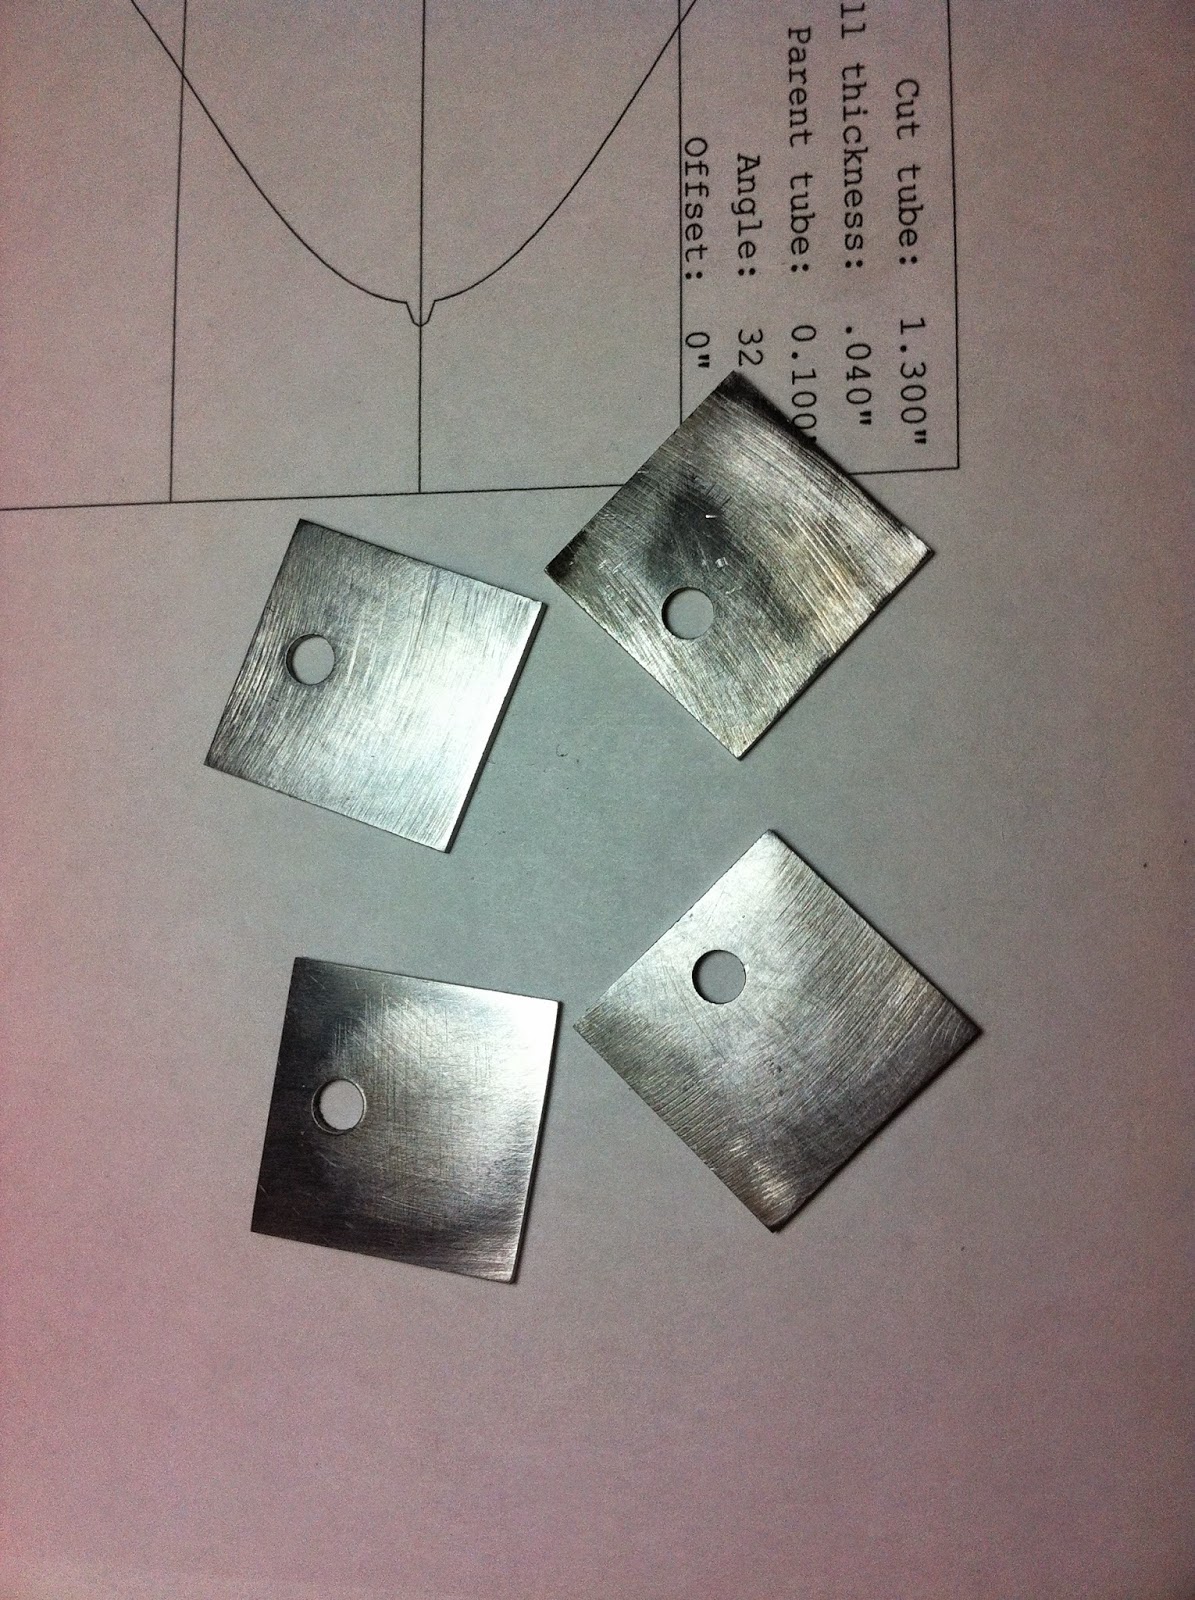
Worked on landing gear bumper plates today, easy task to complete! plans call a number 44 drill bits to make holes, but i can't find one...so i used a 2.5mm drill bit, the difference in hole diameter from #44 to my 2.5mm is only 0.002 inch...so no make sense to worry about!

I've also prepared two straps, (#13 on plans) that will be welded around the rear bushing legs, and two more (#14 on plans) to weld around tubes and between the two plates! I know.... will be more clear when i'll put everything together.

I've also prepared two straps, (#13 on plans) that will be welded around the rear bushing legs, and two more (#14 on plans) to weld around tubes and between the two plates! I know.... will be more clear when i'll put everything together.
March 16, 2015
Landing gear Rear Bushing
Today i spent time building the "-27 channel" that supports the tube against the rear landing gear leg.Really tedious work, it took many hours to complete these pieces.
First i had to build a new bending block, than i bend two 0.050/4130 steel sheets and draw templates.
Than i worked with grinder and files to give them the final shape.
First i had to build a new bending block, than i bend two 0.050/4130 steel sheets and draw templates.
Than i worked with grinder and files to give them the final shape.
March 9, 2015
Strap 11
March 3, 2015
Landing gear stuff !
Today the good news is that my father in law decided to help me building some pieces! and the beautiful one is that, he is a good builder!
I know...i know, is my project and i should suffer in these hell alone, but.. always better to cheat by buying stuff !
so, here is his work!
three more bits! still need four.
In the meantime I've started with the landing gear construction...some pics of front legs.
I know...i know, is my project and i should suffer in these hell alone, but.. always better to cheat by buying stuff !
so, here is his work!
three more bits! still need four.
In the meantime I've started with the landing gear construction...some pics of front legs.
February 24, 2015
Tab Number 69
I started building the brackets, that once welded to the frame, will be used to bolt the two aluminum rails that form the floor inside the plane. I reduced some 0.100 steel scraps to 0.050 with a bench grinder, than i gave them a rough shape and than i filed up to give the final shape. First one done...seven to go!
February 22, 2015
Throttle Lever
I spent a couple of days building the throttle lever. Not hard task, but took time! anyhow paid back time!
Just recently i heard that Aviat asked 200 dollars for the throttle lever without PTT button installed!
Here it is my, 5 bucks, throttle! Actually i have these duroplast knob "as per plans" but soon i'll go for a tubolar throttle handle with a PTT button.
Just recently i heard that Aviat asked 200 dollars for the throttle lever without PTT button installed!
Here it is my, 5 bucks, throttle! Actually i have these duroplast knob "as per plans" but soon i'll go for a tubolar throttle handle with a PTT button.
February 16, 2015
Having Fun!
One advantage that you have when you build an experimental aircraft is to be able to customize. Now, I'm not that kind of engineer who makes significant changes, but small changes that make it more enjoyable and add performance or make you save money, are welcome.
So here I am, this is my trim lever! Instead of aluminum is made from a 4130 steel scrap!
Has the same dimension that plans call for, but to reduce weight i made those holes inside, which reduced weight from 135 to 90 gr.
Then i added a little lug to give extra lateral resistance.
So, it's a little bit heavier, but it's free.. tougher...and much pretty!
Rough dimension.
Cutting holes, not easy task... these saw is to small!!
Done! Now i need to decide whether to mount the small ball or the big one! (plans call the small one).
So here I am, this is my trim lever! Instead of aluminum is made from a 4130 steel scrap!
Has the same dimension that plans call for, but to reduce weight i made those holes inside, which reduced weight from 135 to 90 gr.
Then i added a little lug to give extra lateral resistance.
So, it's a little bit heavier, but it's free.. tougher...and much pretty!
Rough dimension.
Cutting holes, not easy task... these saw is to small!!
Done! Now i need to decide whether to mount the small ball or the big one! (plans call the small one).
Subscribe to:
Posts (Atom)