Continues the assembly work, the idea is to build the front of both legs at the same time
trying to align them best i can, and then work sideward of each one using the same mounting jig to minimize errors.
To give shape to the tubes i create a template using a simple program that is available on the web. (Link available on documentation page.) Then i use the grinder to mill until the mark is all the way around.
August 7, 2015
April 8, 2015
Putting all together (right leg) !
Sure is nice when a new part of the plane take's final shape, i laid out the front right gear assembly on a particle board and now, step by step, I'll put all the pieces together.
I tack welded the braket that hold in place the front leg bushing (0.500"Tube), this will be usefull later to get the overall leg lengt and than i left the small tube slightly longer, will be trimmed on final assembly.
The axle assembly consist on 4130 tube (1.248 Diam.) threaded on one end, that i orded from ACS. (Part 11703-1)
The threaded part is a bit longer and has already a notch on two opposite sides to allow cotter pin installation.This axle accomodate 5.00-5 wheels. Before placing in place i cut the 68° angle required to match the diagonal brace tube.
I tack welded the braket that hold in place the front leg bushing (0.500"Tube), this will be usefull later to get the overall leg lengt and than i left the small tube slightly longer, will be trimmed on final assembly.
The axle assembly consist on 4130 tube (1.248 Diam.) threaded on one end, that i orded from ACS. (Part 11703-1)
The threaded part is a bit longer and has already a notch on two opposite sides to allow cotter pin installation.This axle accomodate 5.00-5 wheels. Before placing in place i cut the 68° angle required to match the diagonal brace tube.
March 24, 2015
Lug Brake Line
Not much to say, easy parts to do... except for the hole diameter, which i made a little wider (3/16") these because i noticed that the AN526-1032 screw fits better in these way!
March 18, 2015
Landing gear bumper plates...and more!
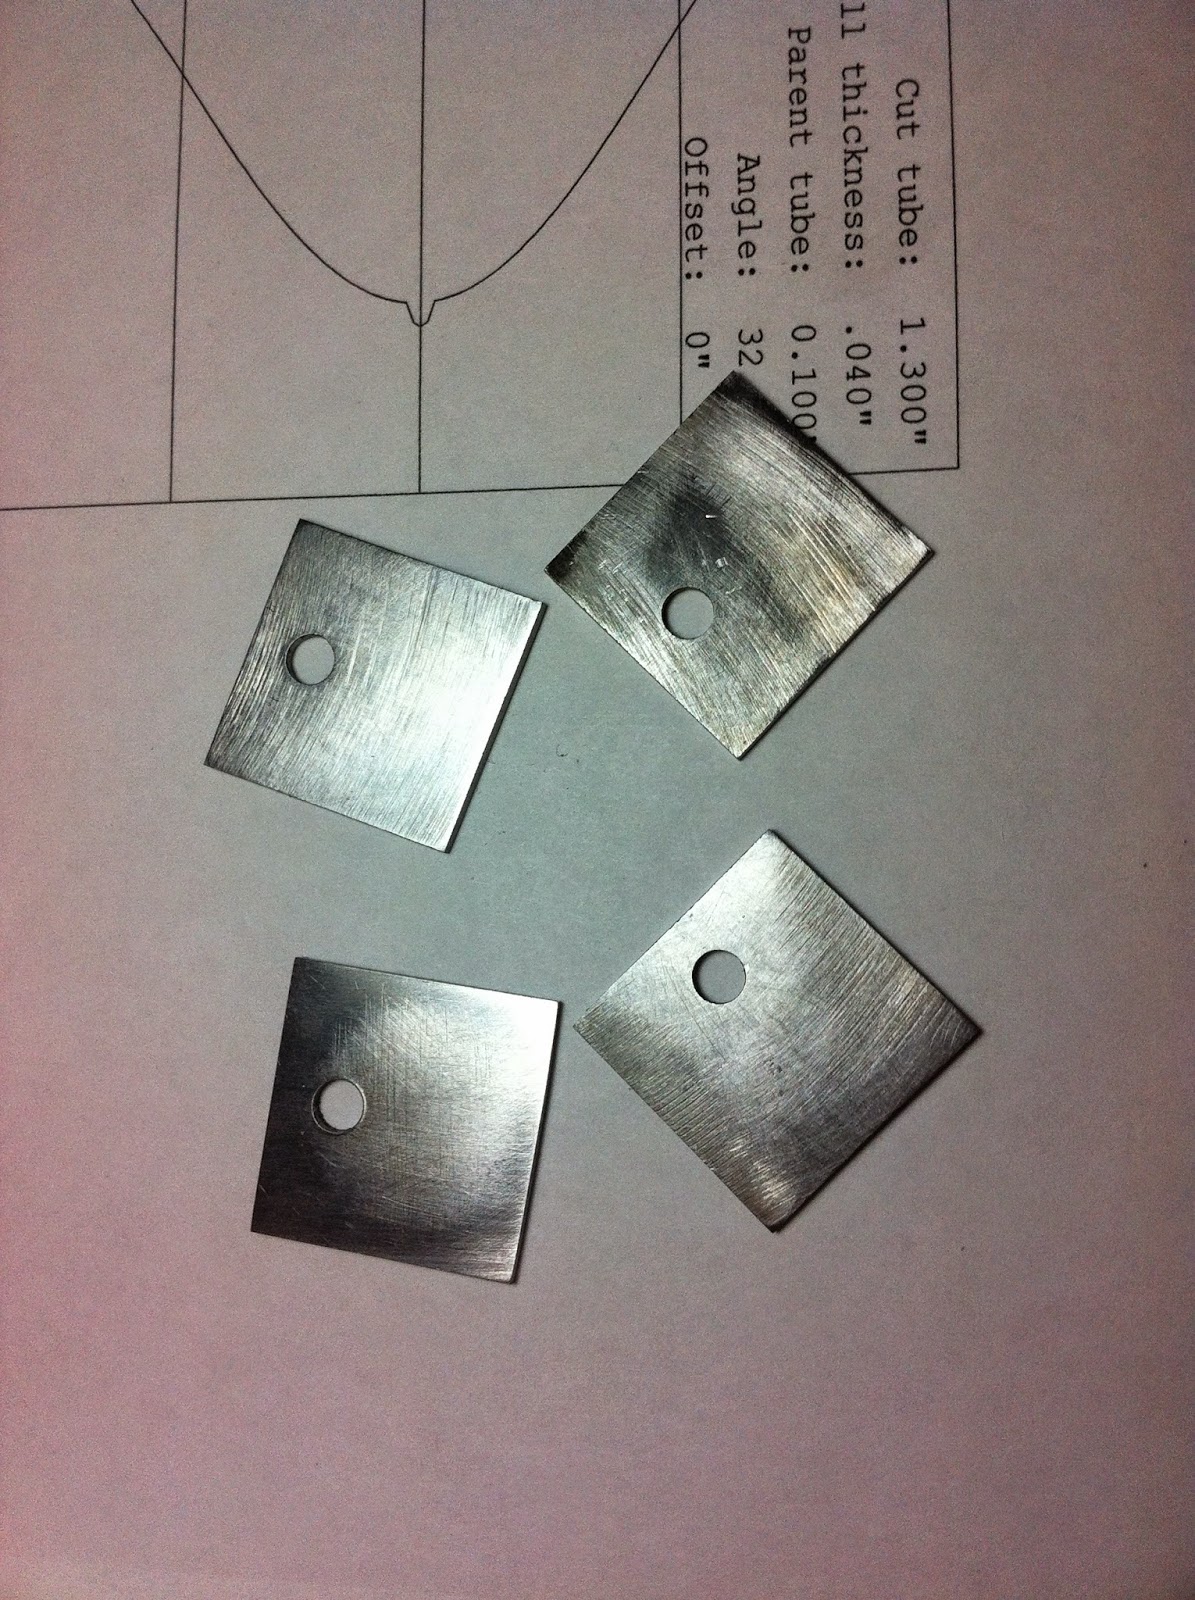
Worked on landing gear bumper plates today, easy task to complete! plans call a number 44 drill bits to make holes, but i can't find one...so i used a 2.5mm drill bit, the difference in hole diameter from #44 to my 2.5mm is only 0.002 inch...so no make sense to worry about!

I've also prepared two straps, (#13 on plans) that will be welded around the rear bushing legs, and two more (#14 on plans) to weld around tubes and between the two plates! I know.... will be more clear when i'll put everything together.

I've also prepared two straps, (#13 on plans) that will be welded around the rear bushing legs, and two more (#14 on plans) to weld around tubes and between the two plates! I know.... will be more clear when i'll put everything together.
March 16, 2015
Landing gear Rear Bushing
Today i spent time building the "-27 channel" that supports the tube against the rear landing gear leg.Really tedious work, it took many hours to complete these pieces.
First i had to build a new bending block, than i bend two 0.050/4130 steel sheets and draw templates.
Than i worked with grinder and files to give them the final shape.
First i had to build a new bending block, than i bend two 0.050/4130 steel sheets and draw templates.
Than i worked with grinder and files to give them the final shape.
March 9, 2015
Strap 11
March 3, 2015
Landing gear stuff !
Today the good news is that my father in law decided to help me building some pieces! and the beautiful one is that, he is a good builder!
I know...i know, is my project and i should suffer in these hell alone, but.. always better to cheat by buying stuff !
so, here is his work!
three more bits! still need four.
In the meantime I've started with the landing gear construction...some pics of front legs.
I know...i know, is my project and i should suffer in these hell alone, but.. always better to cheat by buying stuff !
so, here is his work!
three more bits! still need four.
In the meantime I've started with the landing gear construction...some pics of front legs.
February 24, 2015
Tab Number 69
I started building the brackets, that once welded to the frame, will be used to bolt the two aluminum rails that form the floor inside the plane. I reduced some 0.100 steel scraps to 0.050 with a bench grinder, than i gave them a rough shape and than i filed up to give the final shape. First one done...seven to go!
February 22, 2015
Throttle Lever
I spent a couple of days building the throttle lever. Not hard task, but took time! anyhow paid back time!
Just recently i heard that Aviat asked 200 dollars for the throttle lever without PTT button installed!
Here it is my, 5 bucks, throttle! Actually i have these duroplast knob "as per plans" but soon i'll go for a tubolar throttle handle with a PTT button.
Just recently i heard that Aviat asked 200 dollars for the throttle lever without PTT button installed!
Here it is my, 5 bucks, throttle! Actually i have these duroplast knob "as per plans" but soon i'll go for a tubolar throttle handle with a PTT button.
February 16, 2015
Having Fun!
One advantage that you have when you build an experimental aircraft is to be able to customize. Now, I'm not that kind of engineer who makes significant changes, but small changes that make it more enjoyable and add performance or make you save money, are welcome.
So here I am, this is my trim lever! Instead of aluminum is made from a 4130 steel scrap!
Has the same dimension that plans call for, but to reduce weight i made those holes inside, which reduced weight from 135 to 90 gr.
Then i added a little lug to give extra lateral resistance.
So, it's a little bit heavier, but it's free.. tougher...and much pretty!
Rough dimension.
Cutting holes, not easy task... these saw is to small!!
Done! Now i need to decide whether to mount the small ball or the big one! (plans call the small one).
So here I am, this is my trim lever! Instead of aluminum is made from a 4130 steel scrap!
Has the same dimension that plans call for, but to reduce weight i made those holes inside, which reduced weight from 135 to 90 gr.
Then i added a little lug to give extra lateral resistance.
So, it's a little bit heavier, but it's free.. tougher...and much pretty!
Rough dimension.
Cutting holes, not easy task... these saw is to small!!
Done! Now i need to decide whether to mount the small ball or the big one! (plans call the small one).
December 18, 2014
Idler Lug
November 25, 2014
M.L.G. Aft Fittings (AFT)
This afternoon i completed the landing gear fittings. I cut the tubes, where bolts will be inserted, to an approximate length, they will be timmed after being welded to the brackets.
November 14, 2014
M.L.G. Aft Fittings
Built today the main landing gear aft fittings. Thay are made by two 0.080 inch, 4130 steel plates.
First of all i slightly bend plates, (3.5°) where the landing gear will be bolted on. To have a greater control, of where fold start, i do two small cuts with holes in the ends, along the folding line, so to create a weak point. Done that i locked all on vise and with a light rubber mallet i've bent plates.
Preparing for bending...
All holes done! Sometimes i use to drill extra holes on plates, these to lock them, with srews, on a wooden board, that i clamp on drill press plate, as support when i do holes.
I left lugs a bit longer inside where they will be welded, these because i want weld plates on streamline tube, and even against the cross member tube at station 20-1/2...more safe!
First of all i slightly bend plates, (3.5°) where the landing gear will be bolted on. To have a greater control, of where fold start, i do two small cuts with holes in the ends, along the folding line, so to create a weak point. Done that i locked all on vise and with a light rubber mallet i've bent plates.
Preparing for bending...
All holes done! Sometimes i use to drill extra holes on plates, these to lock them, with srews, on a wooden board, that i clamp on drill press plate, as support when i do holes.
I left lugs a bit longer inside where they will be welded, these because i want weld plates on streamline tube, and even against the cross member tube at station 20-1/2...more safe!
November 10, 2014
M.L.G. FRWD Fittings
Finally bent and completed. Now need to cut 1/2 tube to size and weld on it.
Not easy to build these two pieces, the hardest part was bending the two tabs symmetrically with the correct radius. To do this i built a jig where i 've bolted pieces on, and whit a big hammer, i've fold lugs.
October 29, 2014
Elevator Horn Completed.
Finally i bent the two tabs. Not easy task to carry out! As i said before we should leave extra material and than trim to size afterward.
I had to wait about a month the new order from ACS where i bought more steel and some bolts, nuts....
So i'm ready to go on, again!
I had to wait about a month the new order from ACS where i bought more steel and some bolts, nuts....
So i'm ready to go on, again!
September 23, 2014
3/16 Bending Block done!
Sorry...I have not posted for a while! but i'm working hard these days.
Haven' t made significant progress on pitts project.
I finished assembling a 3/16 bending block radius that i bolted on my reinforced vise.
I did some tests of bending steel and... she works great!
Haven' t made significant progress on pitts project.
I finished assembling a 3/16 bending block radius that i bolted on my reinforced vise.
I did some tests of bending steel and... she works great!
September 15, 2014
Bending Block
I have't had much time to build these days...but i had a great conversation with some biplane forum builders about bending 4130 steel plates where i get very usefull tips...
Next time, i will pay attention on grain orientation. Bending along the grain is a big no! and increases the likelihood the steel will crack along the bend. Second i will bend first, leaving extra material, and then trim to size afterward. Bend will be made on bending blocks..that i'm building. Pics nex time! And as someone said.. "don't get mad, get a bigger hammer! "
September 2, 2014
Rudder Horn
Today I worked on the rudder horn. Curtiss call for these part a 0.095 thick sheet, but i did it with my 0.100, i believe that adding "Knots" sometimes is safer and this will make my wife happy to! First of all i drew template and than drilled holes. Every time i make holes, first i use to mark the centre of a point with a center punch, than i drill a pilot hole with Center drill bits. thay are used to provide a starting hole for a larger-sized drill bit.Usually i use the #3.Traditional drill bits may tend to wander when started on an
unprepared surface. Once a bit wanders it is difficult to
bring it back on center. A center drill bit instead provides a
reasonable starting point as it is short and rigid therefore has a reduced
tendency to wander when drilling is started.
Piece almost done! ned to bend the two lugs, that i left a bit longer and stright. I'll give them the right shape after being bent.
August 24, 2014
Rudder Stop Plate
August 21, 2014
Lug Pants Attach
Worked on lug pants attach, not hard...it just takes time.
Drawn template... this time i decided to drill holes before cutting.This to avoid having to work with pieces that are small to clamp on drill press.

file working in progress!
Every time that i complete a piece i clean it whit acetone and than spry it whit WD40 to prevent rust.
Drilled 1" holes on elevator horns. just used 1" hole saw on drill press.
Drawn template... this time i decided to drill holes before cutting.This to avoid having to work with pieces that are small to clamp on drill press.
file working in progress!
Every time that i complete a piece i clean it whit acetone and than spry it whit WD40 to prevent rust.
Drilled 1" holes on elevator horns. just used 1" hole saw on drill press.
Subscribe to:
Posts (Atom)